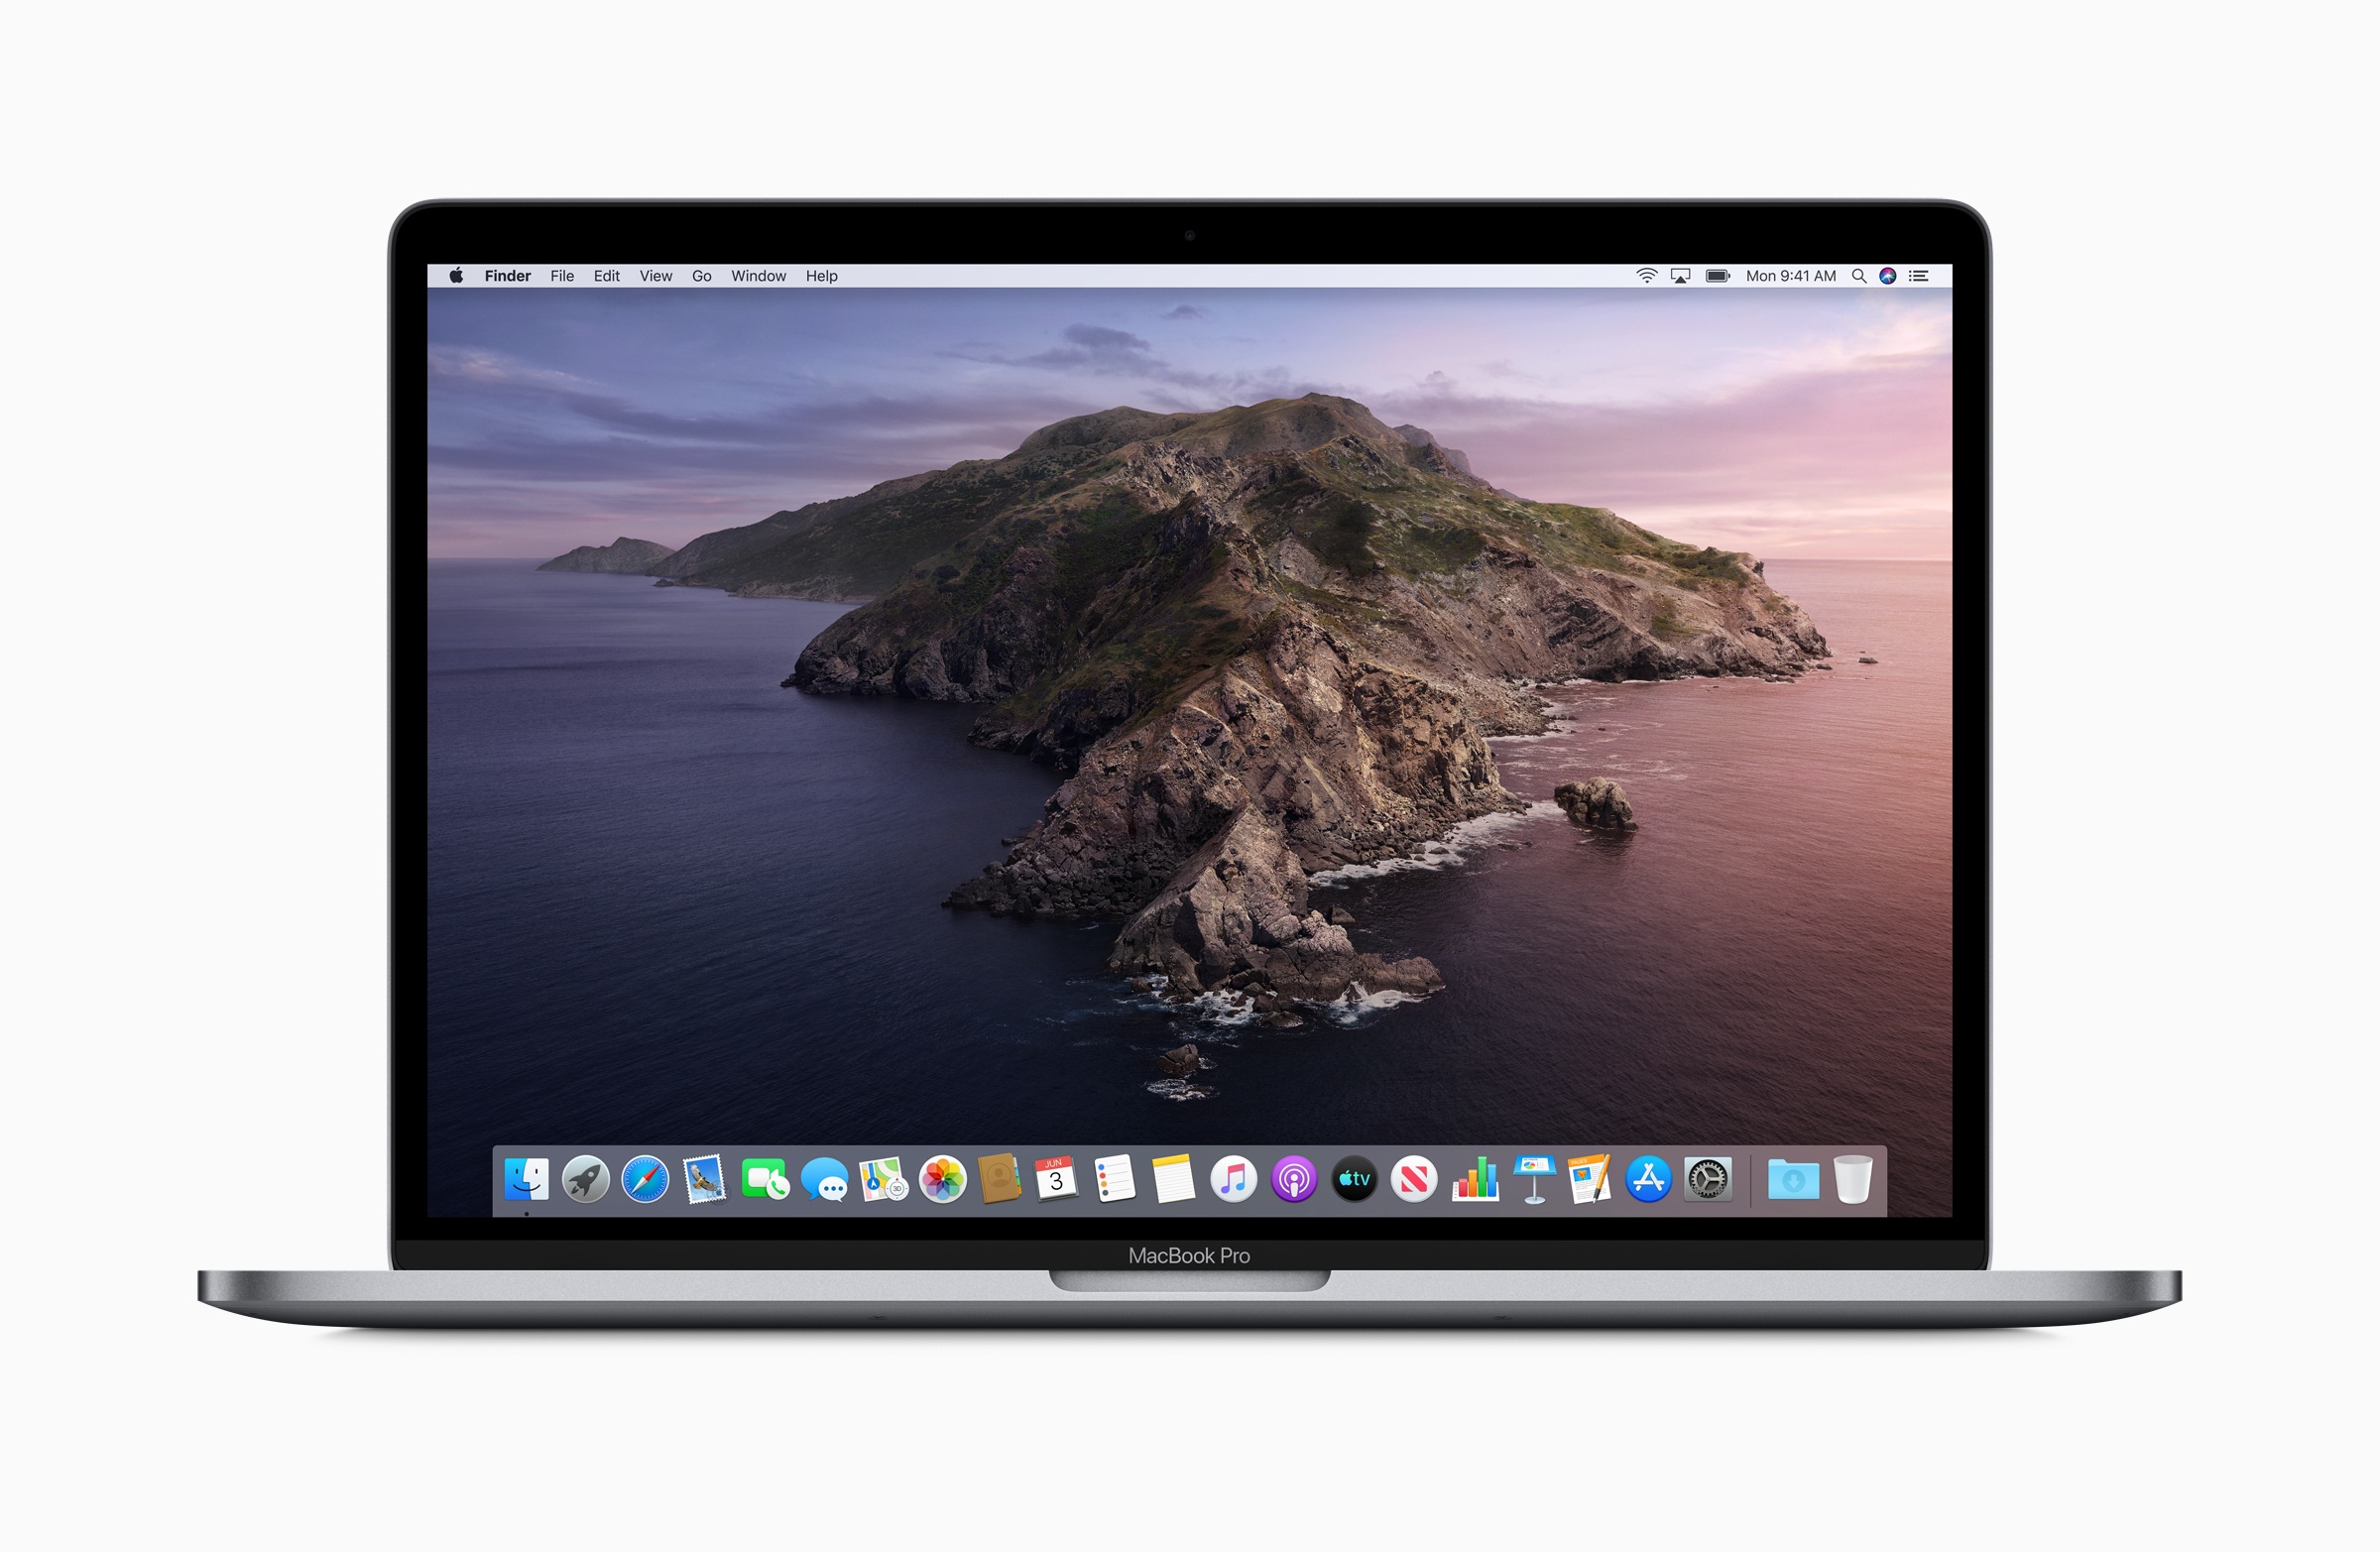
With macOS 10.15 Catalina, Apple's iTunes was split into three new applications. However, the new features also bring a few changes. Users who previously backed up their iPhone, iPad or iPod touch via iTunes will be able to do this in the future via the Finder itself - we'll show you how to do this.
In macOS 10.15 Catalina, iTunes is split into three new applications. Music, podcasts, films and series each get their own application. iOS backups are stored in the Finder under Catalina. Each of these applications offers the full range of functions from iTunes and more - just with a focus on the respective topic.
How to back up your iPhone, iPad or iPod touch under macOS 10.15 Catalina
If you want to back up or synchronize your iPhone, iPad or iPod touch device, you have to connect the respective iOS device to your Mac as usual. The same authentication process is carried out as with iTunes. This means that as soon as the iOS device is connected to the Mac, a dialog window opens on the display of the iPhone, iPad or iPod touch and asks the user to unlock the iDevice - only then is the connection established between the two devices. The synchronization process and the associated categories remain almost the same.
Even older devices can be secured
Users drag content into a specific category and click "Sync." Content of any kind, including data in the application file, can also be deleted on the corresponding screen. Of course, iOS devices with older operating systems can also be backed up or synced - iOS 13 is not required. Fans of the app syncing of the past will be disappointed - the function has not been reinstated. Apple wants to keep the iCloud method in the App Store as the only solution for this.
How to create an iCloud backup of your iPhone, iPad or iPod touch
A complete backup of the iPhone, iPad and iPod touch on the Mac has one crucial advantage - the backup is available on your own hard drive and does not require an Internet connection. To create a backup via iCloud, an active WiFi connection is required - but it is much more convenient. With the correct settings, iOS will back up your data regularly. To create an iCloud backup, first open the "Settings" on your iPhone, iPad or iPod touch. Navigate to the first menu item in the list - "Your Name". Now you will find the "iCloud Backup" option further down. Once you have opened this, the function must be activated.
An iCloud backup is more convenient
In the last step, you must select the option "Create backup now" and wait for the backup to be completed. It is recommended that you connect the device to the power supply and activate the lock screen. Depending on the amount of data, the process may take some time. In the future, your iPhone, iPad or iPod touch will regularly try to update the backup. The process only starts when the Wi-Fi connection is active and the device is connected to a power source and the lock screen is on - for example, if you leave your iPhone plugged in every night, iOS will back up the device while you sleep. This is a much more convenient way to create a copy of the data - but please note that you will probably need to expand your iCloud storage plan.
“Change storage plan” – how it works
Apple provides every user with 5 GB free of charge, but additional storage must be booked if required. If you need more iCloud storage, you can expand it via the settings on your iOS device. To do this, go to "Your Name" under Settings again and then open "iCloud". Now you can click directly on "Manage Storage" in the top bar and call up the menu item "Change Storage Plan". Here you can now choose between 50 GB and a full 2 TB - the subscription is billed once a month and can be canceled at any time. (Image: Apple)


