Apple Pay makes paying with your iPhone not only more convenient but also more secure. Whether you're at the supermarket, shopping online, or on public transport – once you've stored your cards in the Wallet app, you no longer need a physical card. In this article, you'll learn how to set up Apple Pay on your iPhone, which cards you can add, how to set your default card, and how to manage card details.
Before you can use Apple Pay, you must add at least one supported debit, credit, or prepaid card to the Wallet app. Whether your card supports Apple Pay depends on the card issuer and your country or region. For an up-to-date list of supported regions, see the relevant Apple Support article .
Activate Apple Pay – step-by-step instructions
- Open the “Wallet” app on your iPhone
- Tap Add Card. You may be asked to sign in with your Apple ID.
- Now you can choose between different options:
• Add a new card: Tap "Debit or Credit Card," then tap "Continue." Hold your iPhone near the card chip. If the card doesn't have a chip, you can enter the information manually or scan the card with the camera.
• Add Apple Card (US only): If you use Apple Card, you can find more information under “Use Apple Card on iPhone” in Apple Settings
• Use previous cards: You can add cards that you have previously used with Apple Pay – for example, through Safari, on other devices, or cards that you have removed from Wallet
• Cards from supported apps: If you have your bank or card issuer's app installed, you can add a card directly from that app - In the final step, you'll need to confirm your details with the card issuer. Sometimes you'll need to provide additional information or download a banking app before the card is activated in Apple Pay.
Use map on Apple Watch
If you have an Apple Watch, you can also transfer the added card directly to your watch. This gives you even more flexibility when paying – even without your iPhone in hand.
Set default map
If you have multiple cards saved in the Wallet app, you can set one of them as the default for payments. To do this:
- Open the “Wallet” app
- Hold your finger on the card you want to use as the default card
- Move it to the first position in the deck
Connect bank account to wallet
Some card issuers allow you to link your account directly to the Wallet app. You can then view transactions, balances, and other information directly in Wallet. Here's how to connect your account:
- Open the Wallet app
- Tap the corresponding card
- If available, the "Get Started" option will appear below the map. Follow the instructions to link
- If "Let's go" is not displayed, this function is not supported by the card issuer
View and manage card details
To review or change transactions and card details, follow these steps:
- Open Wallet
- Tap the desired card
There you will see:
- The last transactions (Note: Authorized amounts may differ from the actual amount debited, e.g. at gas stations)
- The last four digits of the card number and the device account number
- Additional card details such as billing address, enable/disable transaction history or remove card from wallet
- Notification features that you can turn on or off
With Apple Pay, you can be safe and convenient in your everyday life
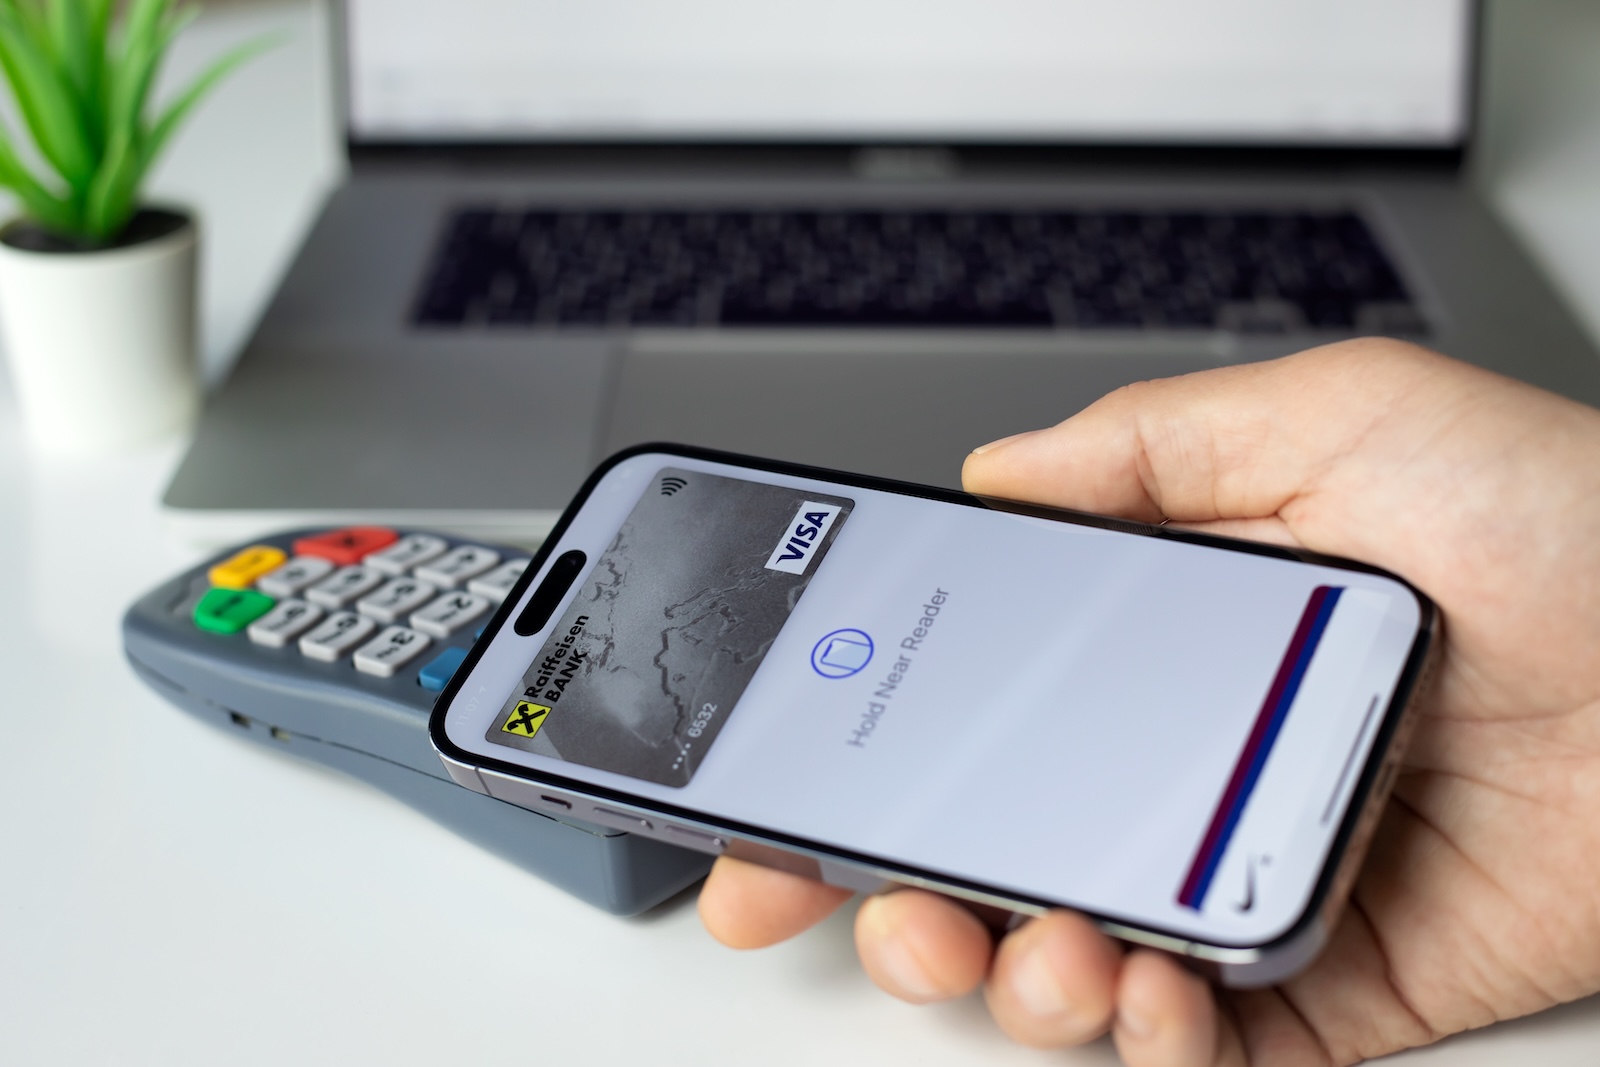
Apple Pay turns your iPhone into a digital wallet. Setting it up in the Wallet app is straightforward if you follow the steps. All you need to do is make sure your card supports Apple Pay and that you enter all the necessary information correctly. Once set up, you can pay contactless and securely—without having to search for your wallet. Convenient, modern, and always at hand. Your accessories, your choice—you'll find a wide selection in our Amazon Storefront , including for HomeKit enthusiasts. (Image: Shutterstock / DenPhotos)
- Protect your Apple Account: Set up a recovery contact
- Transfer Apple Pay to your new iPhone – it’s that easy!
- 10 Years of Apple Pay: How Apple Changed Payment
- Use Apple Pay now on the PS5: It's that easy