The question "How can I record the screen of my iPhone, iPad, Mac or Apple TV" is asked very often. Although Apple has already provided methods with iOS, macOS and tvOS, they may not be easy for everyone to find. That's why we would like to shed some light on the whole topic.
It often happens that a simple screenshot is not enough. This can be the case if a certain process needs to be documented. In such moments, recording the screen is a good idea, but many users don't know how to do it. Some look for apps and others use a second device if possible. But Apple itself has already integrated a screen recording function in iOS, macOS and tvOS. This means that third-party software is not absolutely necessary. However, using other apps can offer new possibilities - although these would be useful for extensive and frequent recordings. If it is just a simple sequence of steps, Apple's in-house solution is completely sufficient.
How to start screen recording on your iPhone, iPad and iPod touch
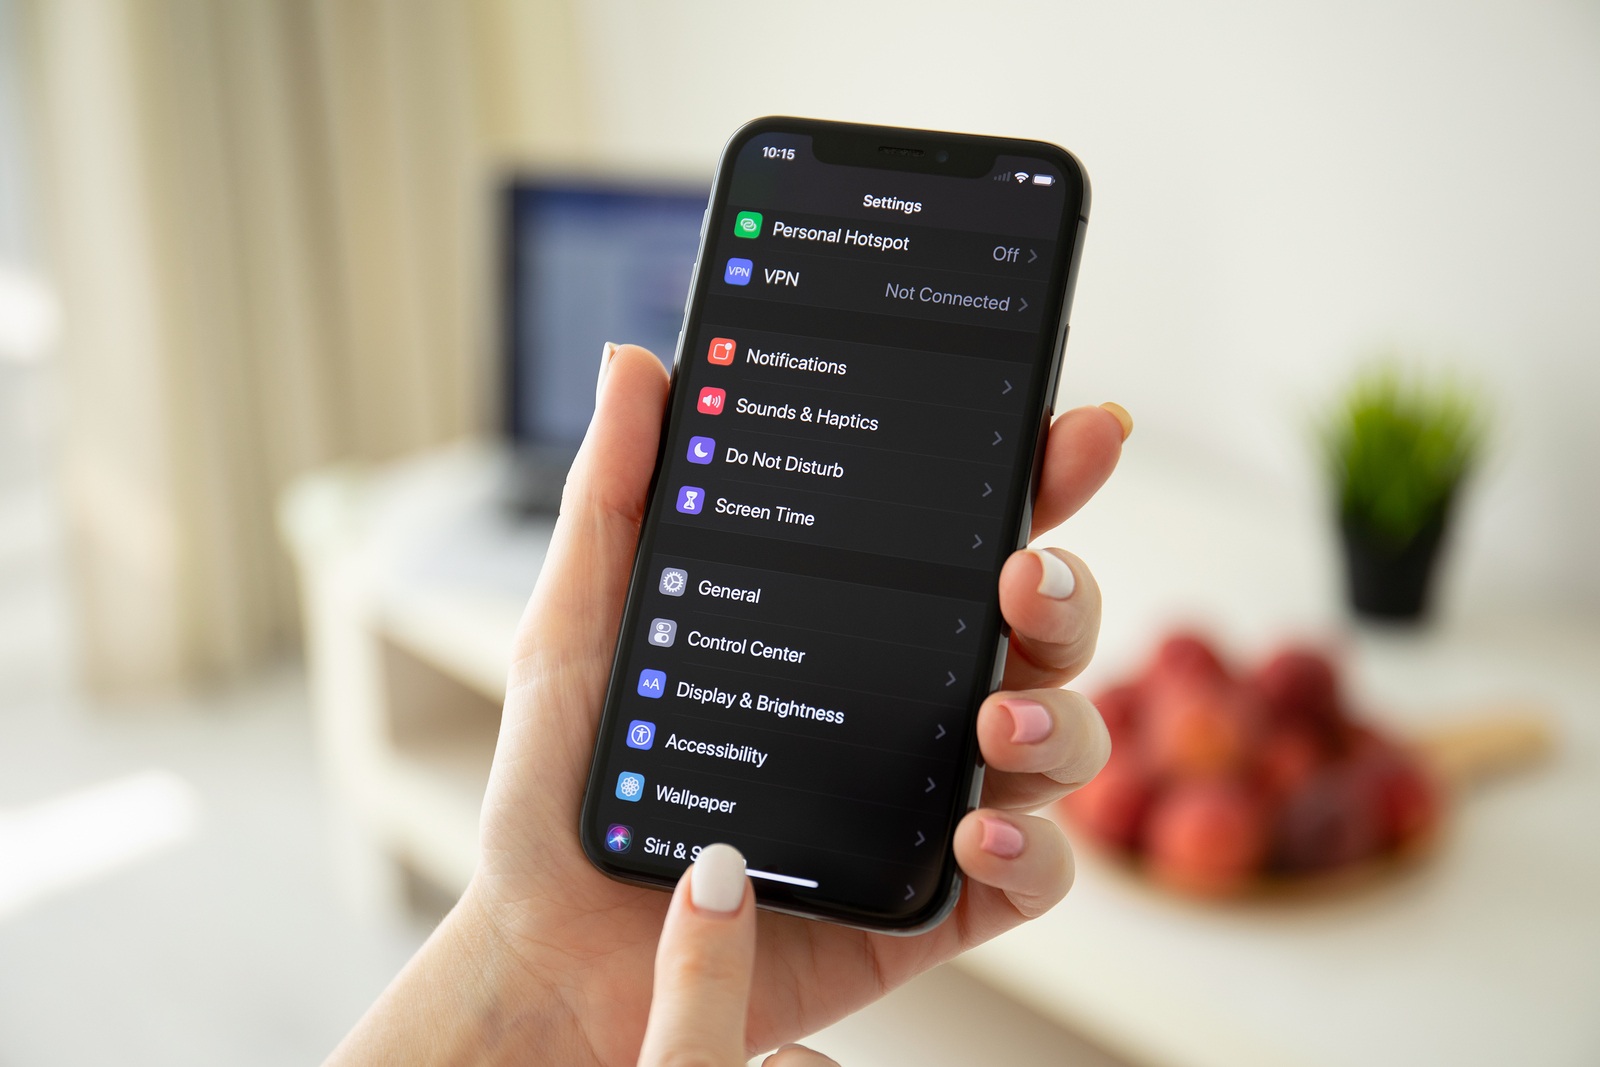
In order to start recording the iPhone, iPad or iPod touch screen, a few preparations must be made. The basic requirement for the function on your iPhone, iPad or iPod touch is iOS 11 or newer. First, the user must go to the settings of the respective device. Now select the Control Center section and then tap Select Controls. Screen recording is among the available controls. This is added by tapping the "+" symbol. In order to start recording the screen, the user must open the Control Center - this can be done from the home screen or another app. Now the Screen Recording command must be clicked. There is then a countdown of three seconds and then the recording begins - this can be recognized by the red status bar. The microphone can be switched on or off during recording. The frame rate cannot be determined. To stop the recording, just click on the red status bar. The message Stop screen recording appears here - if the command is executed, iOS stops the recording and then saves the video under Photos.
How to start screen recording on your Mac device
In order to record the screen of your Mac device, you need to open the toolbar for creating screenshots or video recordings. You can do this using the key combination "Command-Shift-5". The tool for this should now be displayed at the bottom left. Here you can choose between several options. In the middle of the bar you will find two options for recording a video of your screen. The left symbol allows you to record the entire screen and the right symbol allows you to record a specific area. There are a number of setting options available under "Options". The storage location can be determined and the timer can be configured. The user can also decide whether the microphone should be activated or deactivated. Once the selection has been made, the recording can now begin. The recording can be stopped using the "Stop symbol" in the image - users of newer MacBooks can do this via the Touch Bar. Alternatively, the screen of a Mac device can also be recorded using QuickTime Player. Although this method is a bit more complex, it is still often used. This is necessary if you want to record the Apple TV screen.
How to record the screen of an Apple TV
In order to record the screen of an Apple TV device, a Mac is required. Both devices must be on the same WiFi network. Then open the QuickTime Player on the Mac and navigate to "File" in the bar at the top - now select the "New Video Recording" button. An image with the integrated camera will now be displayed on the Mac screen - users who do not have a built-in or external camera will see a black image. Further down, a toolbar will be displayed - the record button is clearly visible in the middle, next to it there is a small arrow pointing downwards. Now click on the arrow symbol and a list of functions will open. Here, for example, you can determine the quality of the recording and activate or deactivate the microphone.
There is also a camera selection. Here, the internal or externally connected Mac camera - if available - and the Apple TV are listed. If this is not the case, please check whether both devices are registered in the same WiFi network. As soon as you have selected your Apple TV, you must obtain permission. A code is displayed on the screen of your Apple TV; after you have entered this on the Mac, the recording is authorized. You can now start the screen recording of your Apple TV.
Screen recording with third-party applications
In recent years, Apple has actually made an effort to simplify screen recordings on iOS and macOS. But of course there are also attractive third-party solutions with even more options. A very popular application for Apple devices is ScreenFlow. The app allows you to record the screen and also edit the recordings - thanks to the integrated video editor. Users who make a lot of recordings and also create longer videos should use ScreenFlow or similar software. But the top model among these applications also has its price - ScreenFlow is available in the Mac App Store for around 149.99 euros. So the purchase should be well considered. Prime Video | Watch movies & series now on Amazon (Photo by Rido81 / Bigstockphoto)


